How To Integrate Shopify with Scalenut?

Integrate Shopify with Scalenut to optimize your e-commerce content and boost your performance today!
Scalenut, now evolved into a powerful GEO platform, is transforming how brands create and distribute content for visibility across both search and generative engines.
Its new Shopify Publisher tool makes publishing effortless—allowing you to export drafts, schedule posts, and publish directly to Shopify blogs with featured images, authors, blog types, and tags, all while preserving your HTML styling. No more reformatting, no loss of design.
For eCommerce brands, this integration streamlines workflows, keeps branding consistent, and ensures every post is GEO-ready from the start.
Why Should You Integrate the Shopify Publisher?
In the GEO era, where content must perform across search engines and generative platforms alike, the Shopify Publisher integration gives you a single, unified hub to create, optimize, and publish content across multiple Shopify domains.
Every image in your content is automatically uploaded to your Shopify media, preserving visual consistency and saving hours of manual work. When paired with Scalenut’s Keyword Research and Cluster Booster features, this integration ensures your Shopify blogs aren’t just published—they’re strategically crafted to rank higher and surface in generative results.
Part 1: How to get your Shopify API Details
Before connecting Scalenut to Shopify, you need to create a Custom App in your Shopify Admin to generate the necessary credentials (Client ID and Client Secret).
STEP 1: Log in to your Shopify Admin. Click on ‘Settings’ (gear icon) at the bottom left of your sidebar.

STEP 2: From the settings menu, select ‘Apps’.

STEP 3: Click on the ‘Develop apps’ button at the top right of the page.

STEP 4: If you haven't enabled it before, click ‘Allow custom app development’. On the next screen, click ‘Build apps in Dev Dashboard’.

STEP 5: Click the ‘Create an app’ button.

STEP 6: Enter an App Name (e.g., "Scalenut Publisher") and click ‘Create app’.

STEP 7: In the app settings, ensure you uncheck the option for “Embed app in Shopify admin” if it is enabled.

STEP 8: Under ‘Access/Scopes’, add the following scopes:- read_content,write_content,write_files

STEP 9: Click ‘Release’.

A pop-up will appear where you can add an optional Version name and Version message. Click ‘Release’ again to confirm.

STEP 10: Go back to your App Home.

STEP 11: Click ‘Install app’.

STEP 12: Select your "Store".

STEP 13: Click ‘Install’.

STEP 14: Go to your app settings to find and copy your Client ID and Client Secret.

Part 2: Connecting Shopify to Scalenut
STEP 1: Log in to your Scalenut Dashboard. Click on view all under the Apps section

When you click on View All, a Manage Apps modal opens. From this modal, you can see a list of all available apps. Simply locate and click on App Integrations to access it.

STEP 2: Choose the ‘Shopify Publisher’ option from the list of integrations.

STEP 3: Click on the blue ‘Connect’ button on the right side of the screen.

STEP 4: A pop-up will appear asking for your account details.

STEP 5: Enter the following information:
Store Link: Your Shopify store URL (e.g., your-store-name.myshopify.com).
Client ID: Paste the Client ID generated in Part 1.
Client Secret: Paste the Client Secret generated in Part 1.
Click ‘Connect’ to finalize the link.
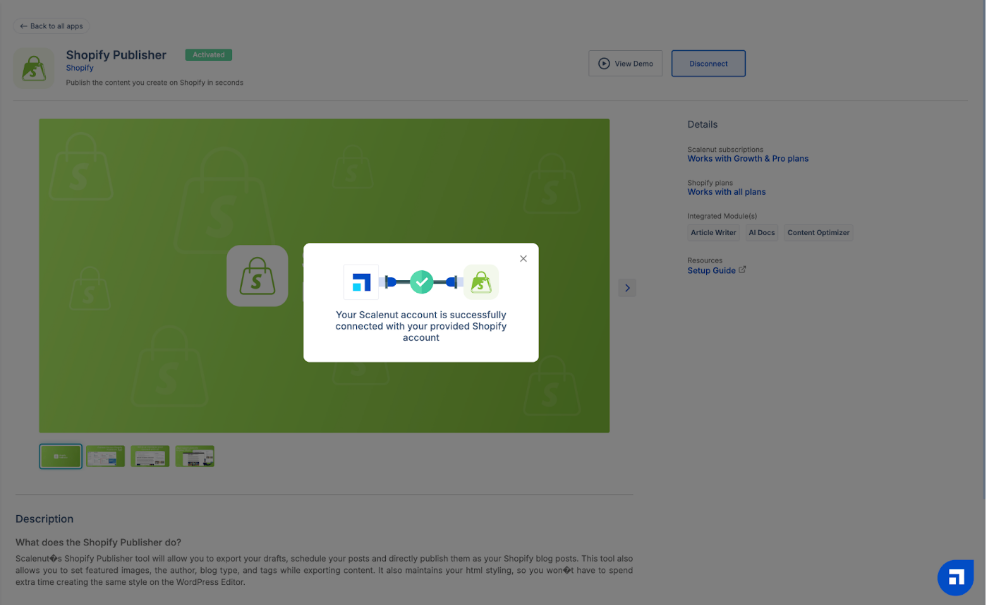
STEP 6: Congratulations! Your Shopify account is now successfully integrated with Scalenut.
Part 3: How to publish content to Shopify
STEP 1: Open the SEO Article/Report you wish to publish. On the editor screen, click on ‘Apps’ in the sidebar and select ‘Shopify Publisher’.

STEP 2: Select your connected store. Choose the Blog Type from the dropdown menu (e.g., "News" or "Create a New Blog").

STEP 3: Add any relevant Tags or select an Author from the dropdown menus to ensure your post is organized correctly in Shopify.
STEP 4: Review the details and click ‘Export’.
